Ted and Shay: STDs! (that's Save The Dates, duh!)

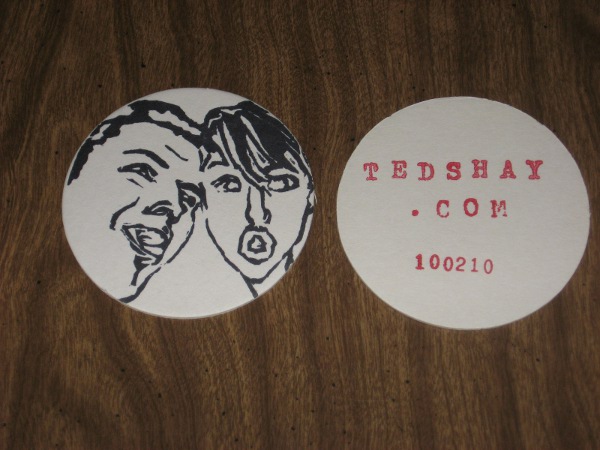
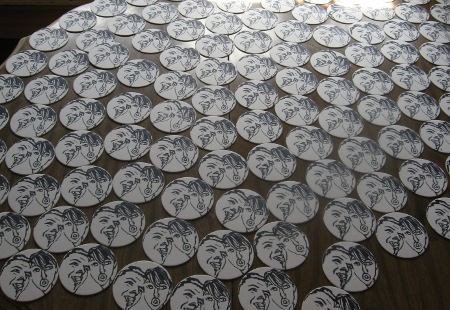
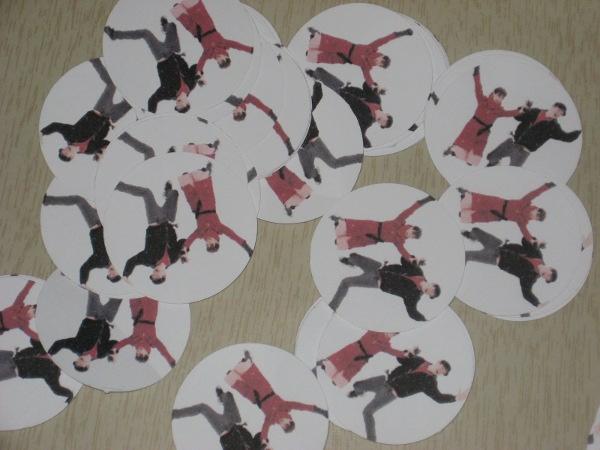
While striving to be original, witty and practical with our wedding, we came up with an idea for our save-the-dates that hopefully won't land them in the garbage the second they arrive at your house. We combined our love of booze, all things DIY and our narcissism all in one: Coasters of our gorgeous mugs!

It was honestly super easy, just a little time consuming.  This is how we did it...

Supplies:

Coasters: Ordered mine from Letterary Press on etsy. They responded immediately to my questions, modified my order for a double amount, and shipped them off pronto tonto! Their shop offers circles and square shapes ($6.50 for 60) and tons of other really rad printed lovelies!  I love my etsy!
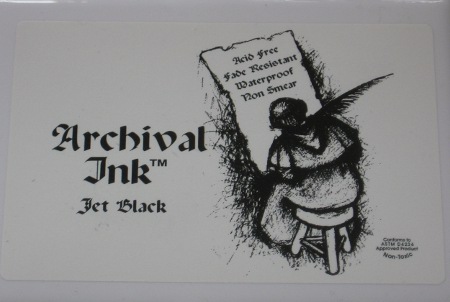
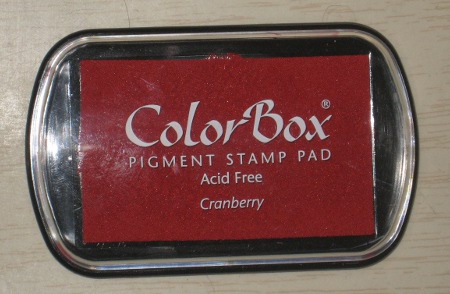
Archival Ink Pad, waterproof - super important ($7.50 for a giant pad)

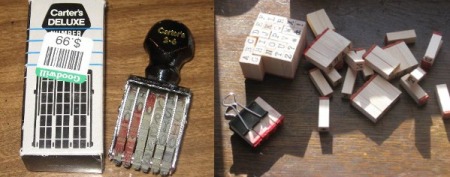
Stamps for the back (99 cents!!! Gotta love Goodwill! The letters were about $10)

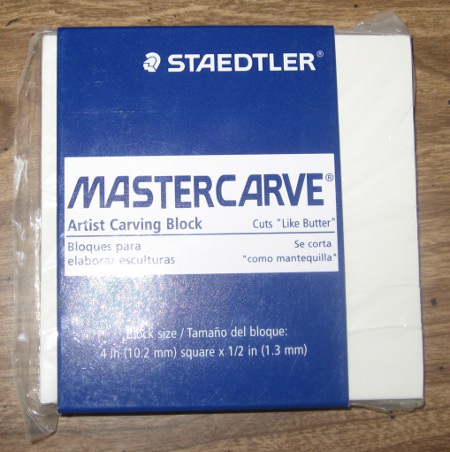
Rubber Pad, Lino block, carving block of some sort (I picked rubber since it's pretty easy to carve, $4)

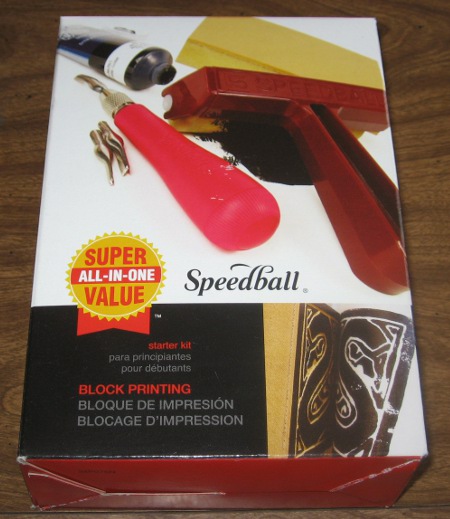
Block print supplies (I bought a Speedball kit, but since I used a different source of ink, and bought my own block, I could have saved some money by just buying the cutting tools. Hindsight is 20/20 or $23)

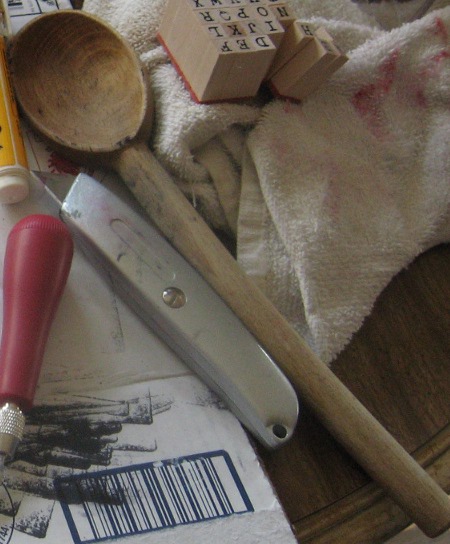
Wooden spoon (courtesy of our kitchen, free)

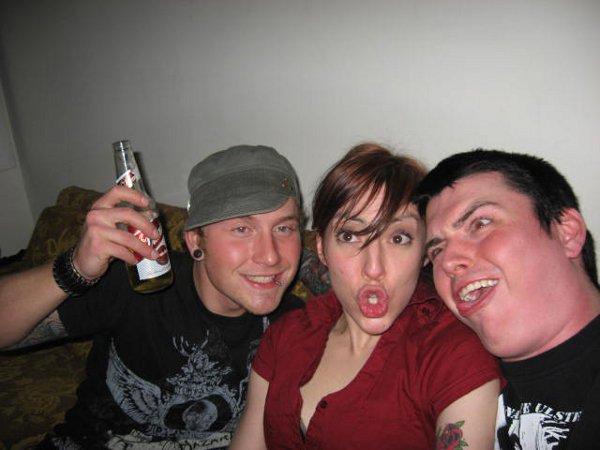
Start with any digital image:

I used Gimp (editing freeware, yes, free!) to make the magic happen.
I cropped up the image, resized it, and turned it into a line drawing:
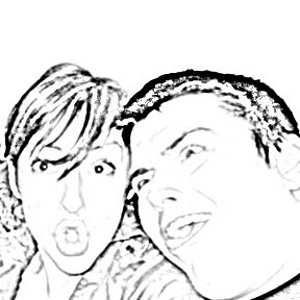
If you're not familiar with Gimp, and software like it, just search online for tutorials about how to turn photos into line drawings. I found this one to be helpful.

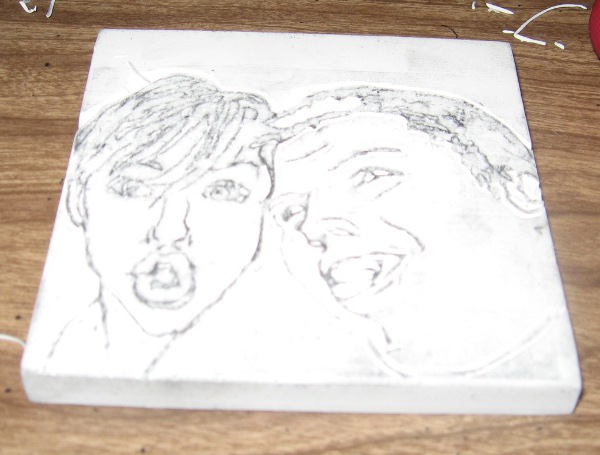
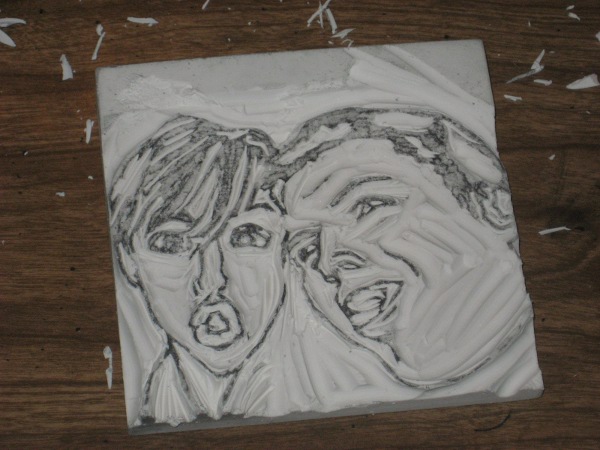
Print your image (make sure it's a similar size to your rubber pad, lino block or whatever you are carving into!)  The easiest way to transfer the image is to take a pencil and cover the back of your printed image with graphite. Then carefully lay the paper (image side up, graphite side down) on top of your block.  Trace the lines of the image that you want transferred with a pen and you'll end up with something like this:

Now for the nerve-wracking part!  Take your cutting tools (start with the smallest one) and carefully carve on either side of the lines.  You want the lines to stay raised so they'll print onto your coasters.  Don't cut super deep for now because if you fuck up, you'll need to sand down the surface and start over.  This was the first time I have ever done any sort of printmaking, and I didn't have to sand down! So take your time and just ease yourself into it. 

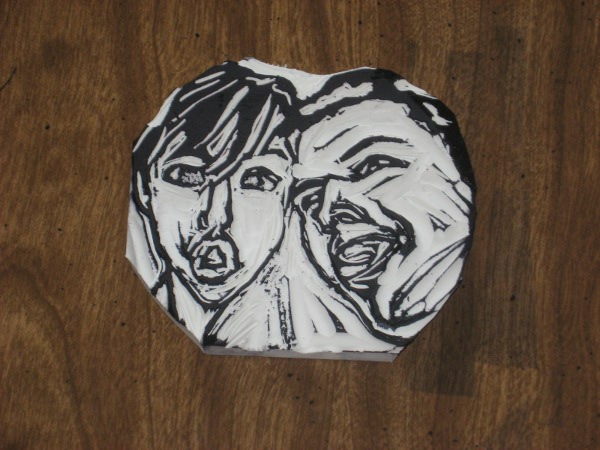
Switch over to a larger grooved cutting tool after you make your initial carvings, and whittle out the areas that you don't want picking up ink. 

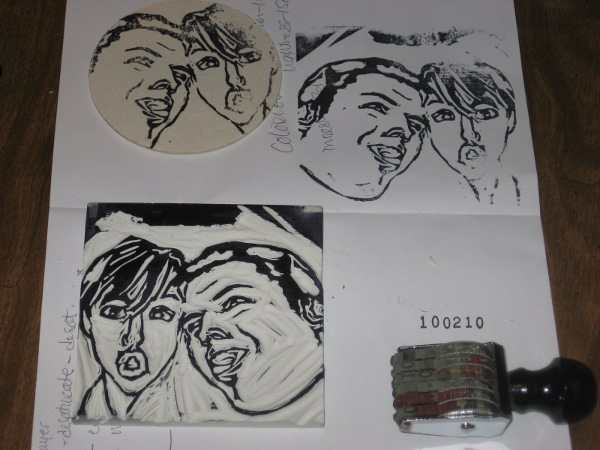
Do a few test runs when you think you're finished carving on scrap paper to make sure extra lines aren't picking up ink.

 Once you're satisfied, you can begin printing!

It works best if you leave your block flat on the table through the whole process. 

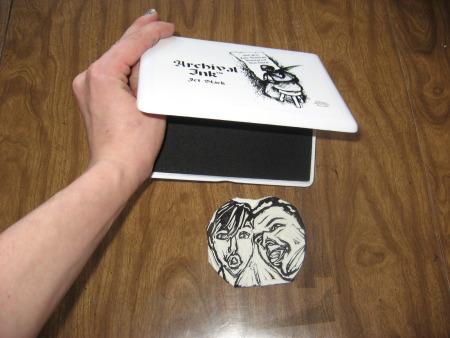
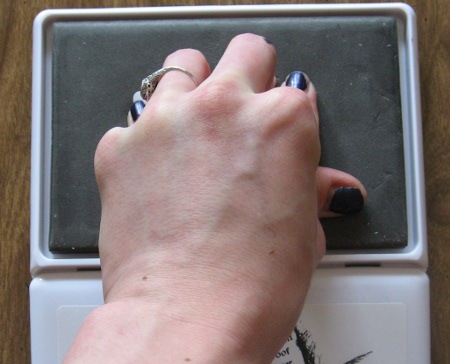
Press your ink pad, or inked up brayer, over your stamp to coat it.

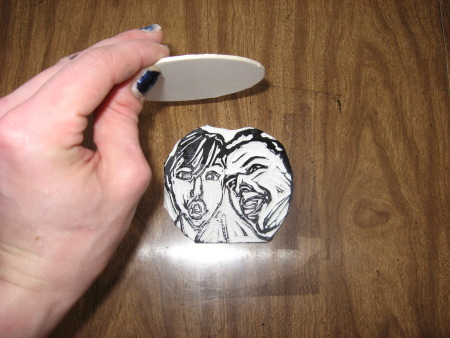
Press your coaster, or other paper product, on top of your stamp.

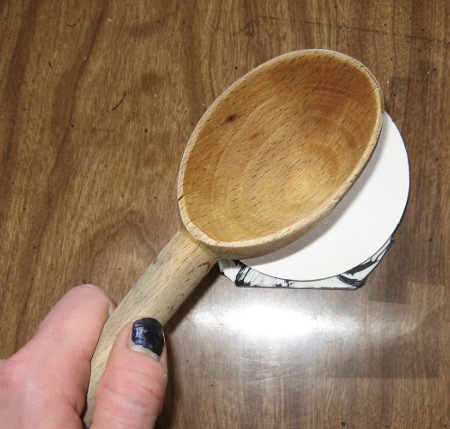
Grab your wooden spoon and rub it around the back of the coaster to make sure it's fully stamped.

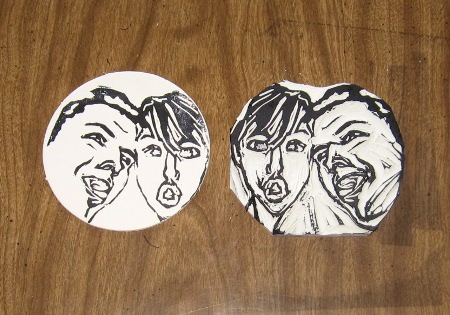
Carefully lift you coaster and one is done! 

I made sure to check each coaster after I had stamped it to make sure the rubber wasn't breaking down and new lines showing up that shouldn't.  After about every five coasters I had to carve off extra lines from my stamp.  Not a big deal though.

120 coasters later, I was done with the front! 

You can heat-proof the ink with a heat gun or blow dryer, but I found that the type of ink I used dried overnight.  Check for smudges before packing these bad boys up!

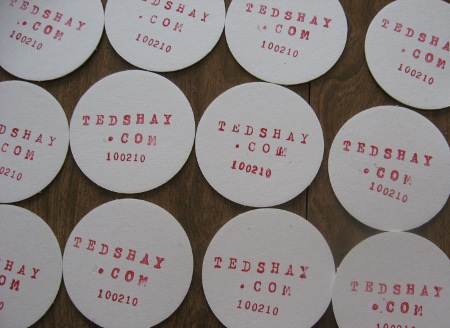
I did the back of the coasters with letter stamps and a date stamp. Instead of stamping each letter, one at a time, I used a small clamp to hook them together. Streamline!

I used a different kind of ink for the back:

This kind took soooo much longer to dry! Kind of smudged up a bit after 2 days of drying...

But I did it in a weekend and it cost me less than $75 for 120 hand-made, customized, save the dates!

Next I'll go over how I printed our A2 envelopes, front and back, (most printers don't have an option for these little guys), and how I made customized envelope seals so we won't get glue poisoning from licking all those envelopes!

xoshayox


Ted and Shay: The list: what got the ax

Right off the bat/post-panic-attack, Ted and I decided that the most important thing to us about getting married, was celebrating our union and love with our friends and family in a way that represents who we are, and on the cheap.


Wedding checklists are thorough, encompassing everything you could possibly need/want in your celebration, and exhausting. We took a list provided by a domesticated-maven-extrodinaire, and karate-chopped it until it looked liked a Ted-Shay party.

Here's what didn't make the cut:

Bridal Party
Professional DJ/Band
Sit-down dinner
Tux Rental
Wedding dress/alterations
Full open bar
Centerpieces
Rental cars
Rented Ceremony Venue
Rented Reception Venue
Wedding ring for me
European honeymoon
Invitations/printed materials

On the chopping block:

Decorations
Flowers
Rehearsal Dinner

Things we are willing to spend money on:

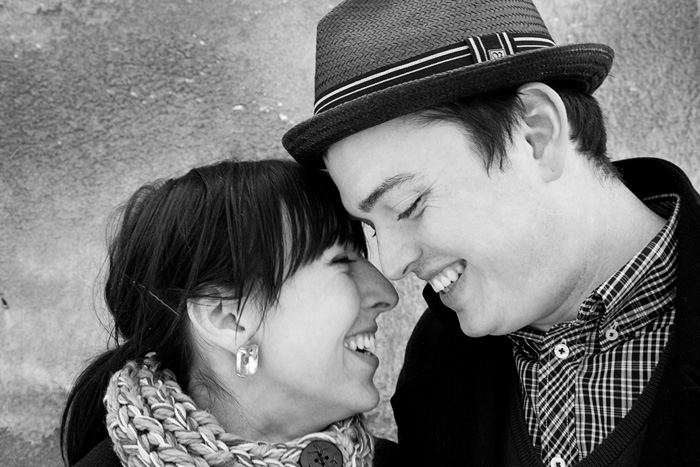
Photography: note some our amazing engagement photos, via the masters at LaceHanky (and featured on Rock 'n Roll Bride) vs. the photos on our "About Us" page... It's priceless for us to have photos where we're not making ridiculous faces, just ask our moms.

Greasy bar food nibblies: you won't get a sit-down din-din at our reception, but keep your eyes open for the mini-corndog volcano (can't find a picture of one, but Sarah J's magic-mathematician brain figured out how to engineer it the other night over swampy martinis)! It beats dried out chicken breasts any day of the week!

Lots of cake: one already decided on, an Elvis cake via Cake Eater Bakery. It's going to blow your mind!

Booze/beer/vino for our ceremony guests: if you're going to sit out the whole damn wedding day with us, you deserve a night full o'booze! We'll treat you right, even if you don't remember it the next day...

Annnd that's about it!

Keep an eye on this blog to find out how we do it, and by do it, I mean do-it-ourselves.

xoshayox


Ted and Shay: The Plan, pt 1

Time for sharing.

After getting engaged I was pretty confused about what we were supposed to do next. I’m a list person, pretty organized, and I love planning events, so a wedding sounded like an awesome project! However, I’m not one of those gals that started hatching my dream wedding plans in grade school.  I honestly never really thought of what I wanted it to be, which is kind of rad because I think our shin-dig will be a good mix of both Ted and me, which is what a wedding is supposed to be, right?

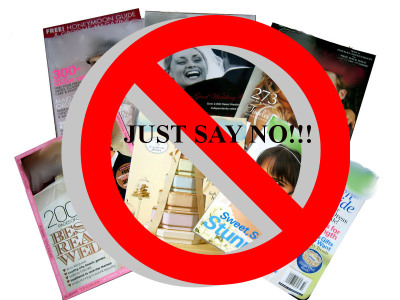
So to quell the confusion brewing in my head, I did the only thing a naive bride-to-be who cannot afford a wedding planner, would do: I bought a bridal magazine.

That glossy covered mag the size of a small town phone book opened with image after image of frosty white dreamy madness.  I went straight to the articles on budgets and planning, and in about 20 minutes flat I was having a severe panic attack!  Apparently the average wedding in MN costs around $38,000 and that’s small potatoes compared to other states! I barely make that amount of money in a year with my gross income.  There is no way in the fiery depths of hell we’re going to spend one of our salaries on a one day affair!

Ted came to the rescue, made me drop the magazine in the recycling, and then made me promise to never buy another one.   We had less than a year to plan and save, and we were going to make it happen, but in our own way.

Blogs and websites became my obsession.  The greatest D.I.Y. ideas are out there, and some of the worst as well.  The one major frustrating thing I’ve encountered is because of the mass amounts of free ideas floating around, people latch onto trends and before you know it, every single wedding photo you see has succulents as the flowers, typewriters as the guest books, mustaches on sticks for the photo opps, barnyard settings, and candy tables that put Willy Wonka's factory to shame.  I’m sure every bride wants to believe deep down inside that her wedding is as unique as she and her groom are, but the fact of the matter is, these D.I.Y. fiasco weddings all look the same.

I’m digging a hole for myself as I write this because I’m sure that our wedding will be as flawed as the rest, but we’re going to try to make this day the greatest party you’ve ever been to.  That’s our mission statement in a nutshell. I just hope all of my ideas aren't all over the blogosphere before our wedding. Me First!!

More to come…

xoshayox

www.tedshay.com

Ted and Shay: Bling...

I know about as much about jewelry as I know about everything else (not a hell of a lot).

My search for an engagement ring was a 2 month process. I only knew what Shay wanted because on one of the many post-bottle-of-wine, sitting-on-the-deck-with-Jimena-nights she divulged that if she ever got an engagement ring, she would like an old Art Deco one. Obviously it was time to punch the google machine until it told me what I wanted to know. The only things that came back were always these gaudy gold things that looked like they dropped out of Donald Trump’s ass and cost even more.

I wasn’t done yet though.

I stole a ring from Shay’s very large jewelry drawer while she was at work and walked over to the antique mall down the street. I asked them if they could size it for me. For some weird reason an antique store with enough rings to even make an Italian stereotype shake their head didn’t have a ring sizer. I did however get a recommendation from one of the employees. This was the second recommendation for this particular store I had received. I decided it was time to check it out.

First, I headed to a big “fancy” jewelry store to get the ring sized. A bunch of greasy salesmen in suits surrounded me and asked if I wanted coffee, bagels, plasma, anything. It was like swimming with sharks that wear way too much cologne. I laughed and bluntly told them I just wanted to size the ring and there was no way in hell I was going to buy a 60 dollar ring for three grand from them.

A week later or so, I decided to make the trek out to Hopkins during rush hour (because I’m an idiot). After an hour drive I reached the store everyone told me about.


Anne and Jack’s Vintage Jewelry is like a rich person’s basement. I mean that in a very good way. They had piles and piles of old school jewelry. I knew I hit the jack pot.

A short woman asked what I was looking for. I described what I had overheard Shay drunkenly tell Jimena. She made it easy for me.

She lined the table with all these rings made in the 1920’s and started weeding out the ones I would never be able to afford.

Since she wasn’t a sales lady, she wasn’t trying to sell me anything. During our conversation she swore like a sailor and told me about her nephew in some jam band.

It took a really short time to find the perfect ring that I knew Shay would love.

She did love it and anybody that ever needs a ring should make the trip to Anne and Jacks Vintage in Hopkins….

Ted

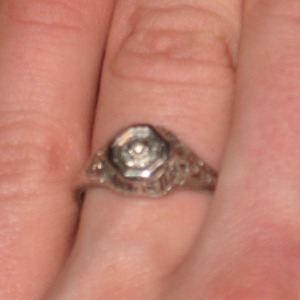
PS-I do love it, even though this picture we tried to take doesn't do it justice. I love it even more because he didn't go broke following the 1,2, or 3 months salary "rule".  It's a 1920's white gold, diamond ring with the most amazing details, and it's not huge or blinding, just perfect and wonderful (like my ted). I give you permission to go barf now- shay

www.tedshay.com